Barn wood table build
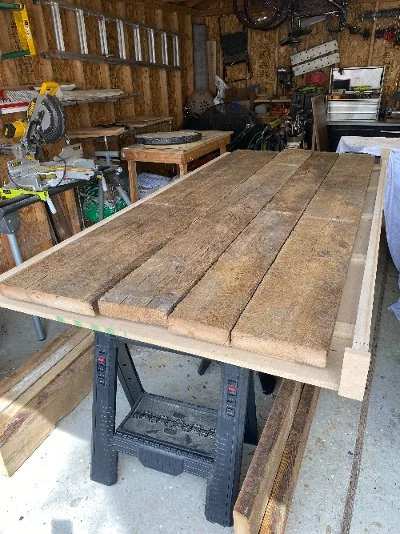
I recently discovered a reclaimed barn wood supplier in the southeast Michigan area. I paid a visit and was impressed by their large wood selection. When I returned home from the visit, I decided to try my hand in building barn wood furniture. A few weeks later, I returned and purchased some wood. I got pine boards for the top and apron and old hand hewn beams for the legs. In case you are wondering, hewn is another word for chopping or cutting. It is used to describe old wood that was been processed by hand will tools of the day. When I returned home will the wood, I quickly realized nothing is straight. The wood is twisted, cupped, bowed, and curved. See picture below. This was taken when I first got back to my shop and laid out the wood.
Rough barn wood.
Milling the wood flat and straight for the top glue up was a challenge. I used a router sled to help flatten the top. Also, there were a lot of knots, cracks, and voids. This is a typical characteristic that gives this wood it’s style. I decided to use black tinted epoxy to fill these. I then coated the entire top with multiple coats of epoxy. This helps to seal and gives it more durability. The under side of the top is reinforced with steel tube that is infused into the wood with more epoxy. This will prevent warping and bowing down the road. Finally, I coating the top with a thin layer of a different type of epoxy. This gives the top a matte and highly scratch resistant finish.
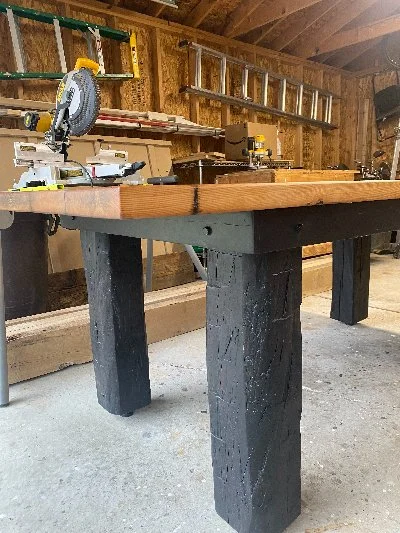
The apron wasn’t difficult to fab up, but the legs were a different story. First of all, being 6 x 6 they weren’t easy to cut. A bunch of sanding and planning was required to get them cleaned up and somewhat straight. Design wise, the tough part was next. How do I attach the legs? After a few days of deliberation, I came to a conclusion. I decided to glue and trap them with a gusset in the corners of the apron. To further strength them, I drove 3/8” lag screws into the three glue surfaces. See picture below.
Hand hewn legs with lag screws
Once the legs were attached, I applied black stain and multiple coats of polyurethane. Finally, I finished the table with adjustable leveling feet. I believe the table came out awesome. Are there methods and procedures I would do different, of course there are. Overall, it was a fun learning experience that produced a beautiful table. I can’t wait to do the next barn wood project.

